A wide variety of motor graders are bought and sold online at IronPlanet and at Ritchie Bros. onsite auctions each year. If you’re planning to buy a used motor grader, make sure your inspection list includes a thorough look at these five motor grader components.

1. Frame
Walk around the motor grader, paying attention to the frame of the machine. Make note of any fishplates (metal reinforcements placed over or even behind a repaired crack). Fishplates help distribute loads away from the repair. If possible, confirm that the entire repair was carried out by a qualified and experienced welder.
2. Circle
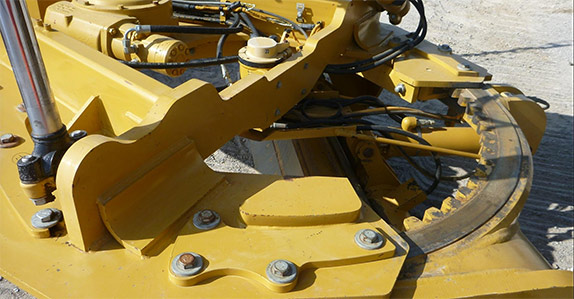
Moldboards are mounted to the motor grader's circle. By manipulating the position or angle of the circle, a motor grader operator can manipulate the angle and tilt of the moldboard. Without a properly maintained and operating circle, an operator will find it extremely difficult to carry out fine grading tasks. Check the circle's surface for any signs of uneven wear. An improperly aligned circle will result in uneven wear on pinion gear teeth. In a properly aligned circle, uneven wear and the resulting vertical play are prevented through the use of shims. If the circle has been shimmed, start up the motor grader, put the circle through its full range of motions and check for any play.

3. Moldboard
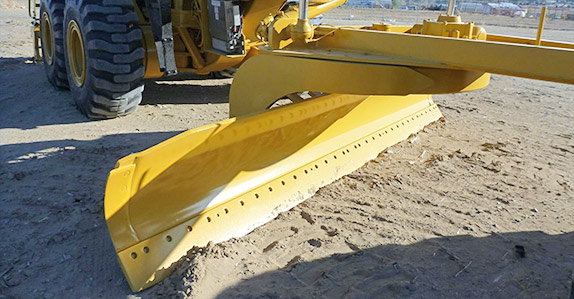
The moldboard's cutting edge, bolted along the bottom of the moldboard and along the sides, should be straight or true. Rock and soil will eventually wear down the center of a cutting edge causing it to cup. It's inevitable: eventually a cutting edge will need to be replaced. How often depends on the type of work in which the motor grader was used. Cutting edges used to remove snow from smooth roads will last considerably longer than those used to maintain rocky, unfinished logging roads. Check to see how much cutting edge remains on the moldboard. The cutting edge (along with the bolts holding it in place) should be replaced when it's half an inch or less. You want to avoid having the moldboard do the work of the cutting edge. It's more economical to replace a motor grader's cutting edge than its moldboard.

4. Articulation point and linkage system
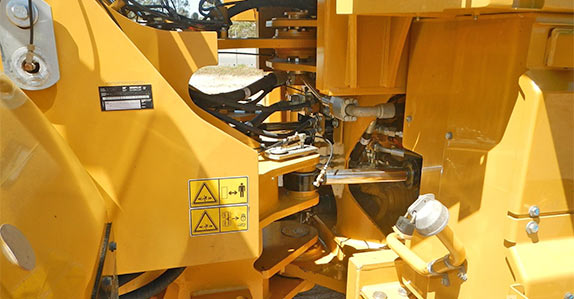
Depending on the motor grader manufacturer, the articulation point could be in the front of the cab - John Deere motor graders, for example - or directly behind the cab, as is the case with Champion motor graders. Look for signs of wear in the articulation point. The amount of wear will depend on the type of environment in which the motor grader was operated. Rough, uneven, rocky ground is much harsher on a motor grader's articulation point than smooth soil.
Also look for any repairs and whether the front and back half of the motor grader are in line. Any difference in level - for instance, if the cab is sitting higher than the engine compartment - could mean that the articulation point is bent or loose. Move to the front of the motor grader and check the linkage system. When the tires are turned and leaned, strain and stress can cause damage to the frame and the linkage system. Any evidence of wear or damage will show on the inside of the frame and on the front axle. If there is evidence of damage, check the steering components and make sure everything is straight.

5. Hydraulics, cylinders, lines and hoses
Start your visual inspection of the hydraulics by looking at the ground beneath the machine, not at the actual components. If there are any fluid leaks present, there’s a good chance you will find evidence here. Once you've checked under and around the motor grader, look closely at all cylinders, lines and hoses within the engine compartment, circle drive housing, etc. Make note of any signs of leaks or other damage that will require repair.
If you're interested in buying motor graders, see what’s available for sale on IronPlanet, including a large selection with IronClad Assurance Equipment Condition Certification, or check out motor graders being sold in upcoming Ritchie Bros. onsite auctions.


